Lowering Your Ryzen Temperature by Nearly 20°C – Delidding the Ryzen 7 8700G!
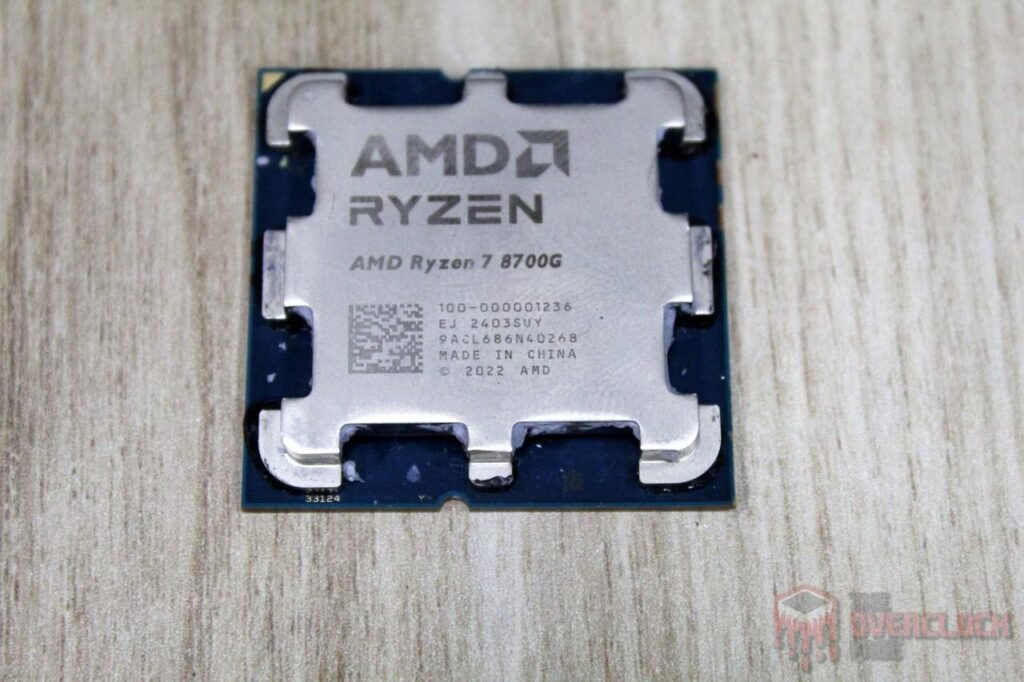
Recently, we published an optimization guide for the Ryzen 7 8700G, where we found that the APU greatly benefits from overclocking, with significant performance gains in the integrated graphics. However, unlike models based on chiplets with a soldered IHS, the 8000 series uses a standard thermal interface. In this article, we’ll show you how delidding the Ryzen 7 8700G can lower its temperature!
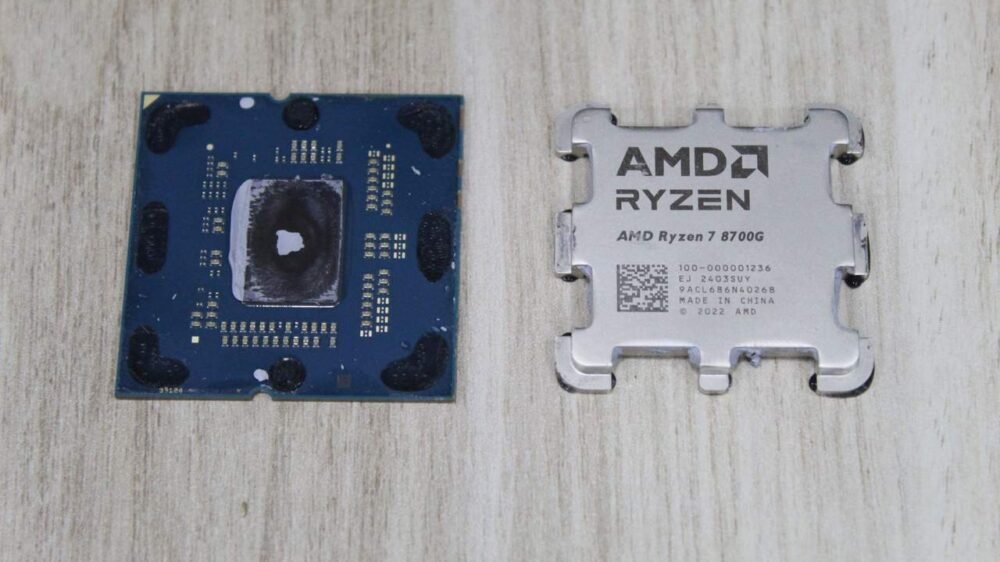
For those unfamiliar, delidding involves removing the IHS, which is the metal plate that makes contact with the base of the heatsink, to replace the thermal interface and hopefully lower the CPU’s temperature. Over the years, various methods have emerged for doing this, including using blades, a vise, dedicated tools, and even dental floss.
With the Ryzen 7000 series, the dental floss method became a favorite. However, despite the virtually identical exterior, there are crucial differences between the IHS of the Ryzen 7000 and 8000 series, including the amount of silicone used to bond the IHS to the package, where a 0.3mm gap is filled by adhesive in the Ryzen 8000.
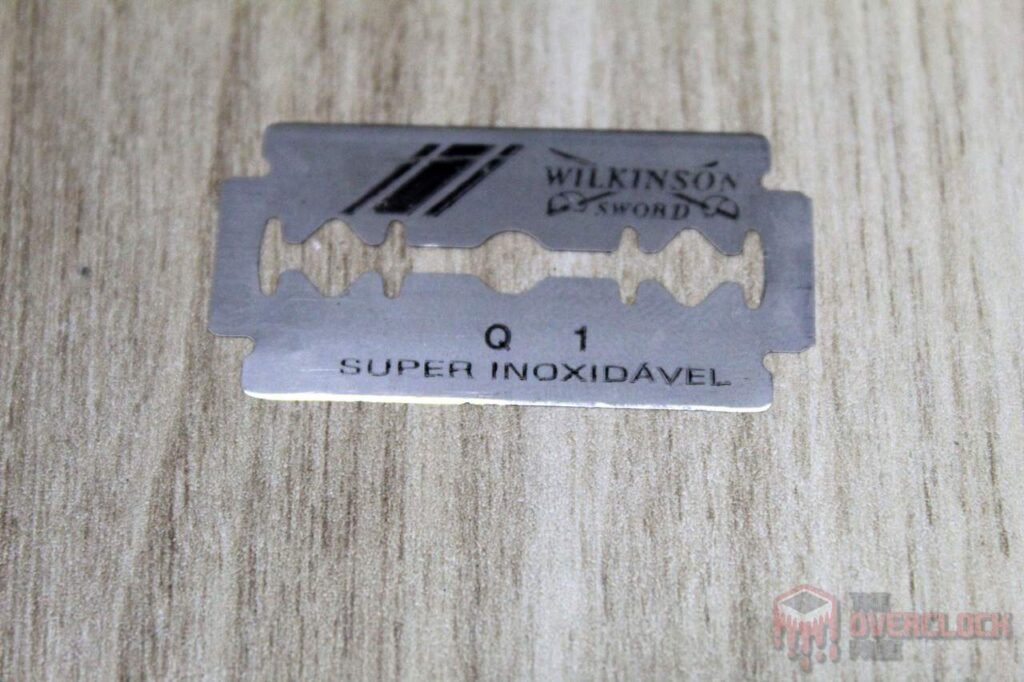
That said, the most reasonable option in this case was the blade, as it’s thinner than the adhesive, making it a safer choice due to the relatively thick layer of glue. It’s important to remember that you must be extremely cautious when using the blade because a scratch or nick on the package could result in a dead CPU or a non-functional memory channel.
The procedure is quick. With the unique design of the IHS on AM5 processors, you just need to slide the blade along the edges to release the metal plate, revealing the thermal interface. This also exposes the central bump that is unique to the IHS of the Ryzen 8000G.
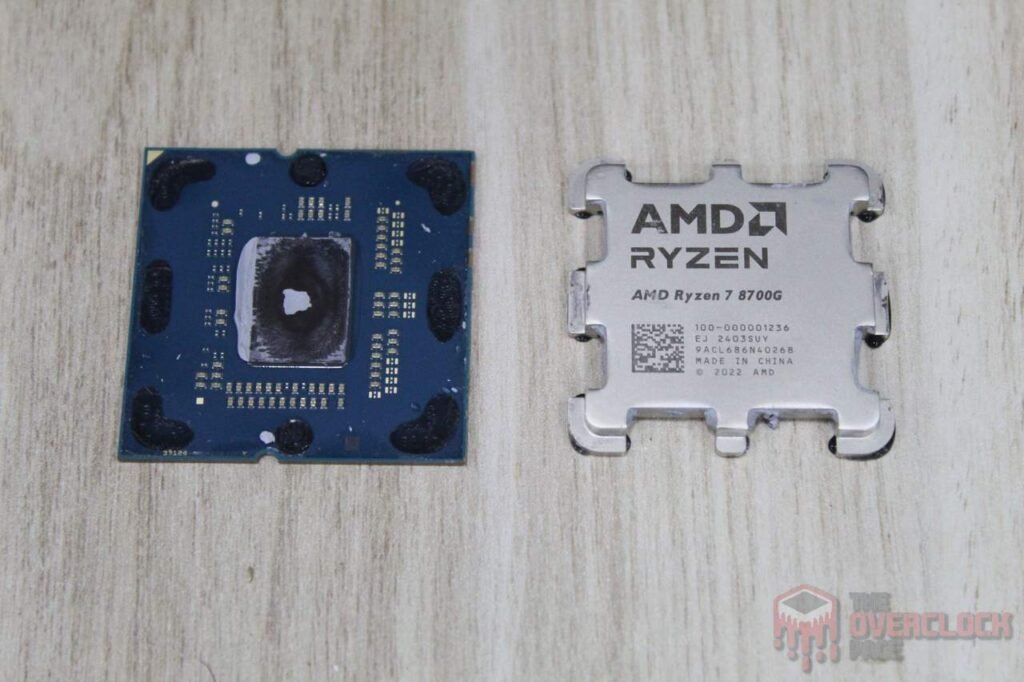
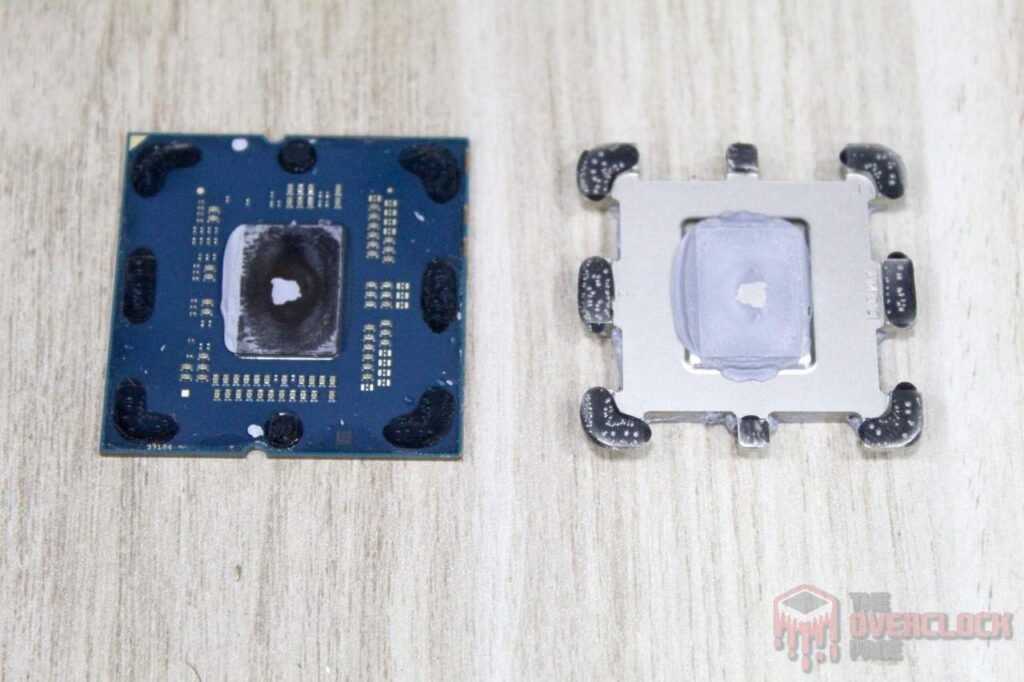
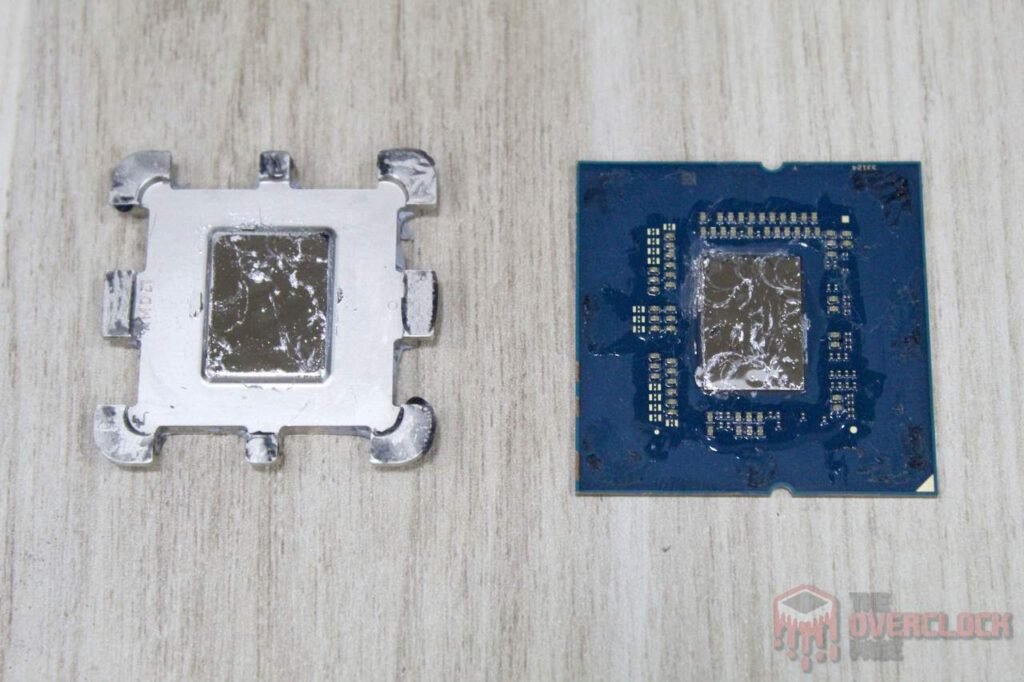
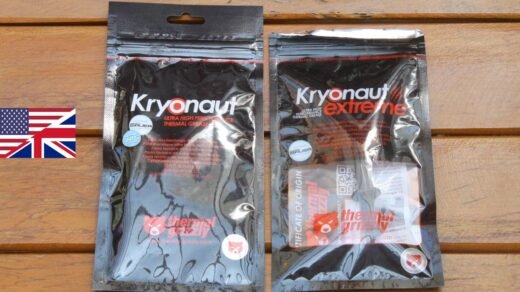
The idea is to replace the original interface with liquid metal, which is a material well-suited for this purpose. However, since it’s a good conductor of electricity, it’s wise to insulate the SMD components around the die. A simple layer of nail polish will do the trick, and voilà, problem solved. 🙂
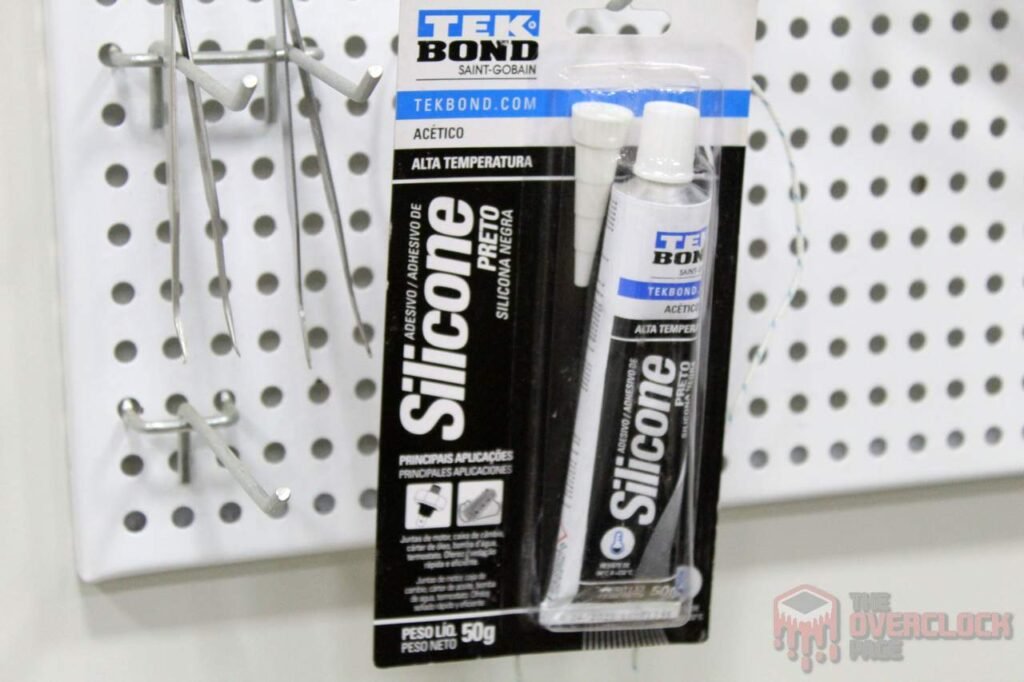
To reattach the IHS to the processor, you just need to use the same type of black silicone originally used. A good tip is to mount the CPU in the socket immediately after applying the silicone and leave it there for the drying time recommended by the silicone manufacturer.
And here’s the final result: a Ryzen 7 8700G that, on the outside, looks identical to any other 8700G. Now, it’s time to see what the delid can do in practice!
Hardware used:
CPU: AMD Ryzen 7 8700G (Obrigado AMD!)
MOBO: ASUS ROG Crosshair X670E Gene
RAM: 2x24GB Kingston Fury Renegade 6400CL32 1.4V – KF564C32R-24 – (Obrigado Kingston!)
GPU: Radeon 780M (vídeo integrado)
PSU: Cooler Master MWE 1250 Gold V2 (Obrigado Cooler Master!)
COOLER: 1STPlayer TS-360
SSD: Kingspec SATA 240 GB (Sistema operacional) e Teamgroup T-Force Vulcan Z 1 TB (Obrigado Teamgroup!)
Software: Windows 11 2405.13.0, Blender 4.2 e HWiNFO 8.06
Extra gear: ElmorLabs KTH-USB e PMD
Objective of the Tests
Check the impact of delidding on the temperature of the Ryzen 7 8700G and its overclocking potential. More details are provided in the following sections.
Results
To test the impact of delidding on the CPU’s temperature, we used Blender to render the “Classroom” demo for 30 minutes, with HWiNFO monitoring and logging the system’s vital stats during the test. At the end of each test, the ambient temperature was recorded.
The CPU was tested under two different settings: first, at stock settings with a TDP of 65W, which resulted in a maximum power draw of 87W, measured directly from the EPS connector using the ElmorLabs PMD. This is consistent with the default PPT of 90W. The second setting involved a manual overclock to 5.1 GHz with a voltage of 1.29V, resulting in a power draw of 108W.
Both scenarios were tested before and after delidding to observe the differences caused by the procedure. The ambient temperature on the day of testing was 24°C.
As expected, replacing the original thermal interface brought significant benefits to the CPU’s temperature under stress, with a 14.1°C difference at stock settings and a 19°C difference with overclocking. This improvement tends to increase as heat dissipation is pushed further. It’s worth noting that even without delidding, temperatures remained completely acceptable, not exceeding 75°C even with the 5.1 GHz overclock.
This additional temperature margin allowed the integrated GPU’s frequency to be pushed up to 3300 MHz, and also enabled reaching at least 5150 MHz on the CPU, which matches the standard single-thread performance while offering gains in multi-threaded tasks. While these improvements are interesting, they may not always justify the risks and warranty loss associated with delidding. However, for enthusiasts looking to squeeze every bit of performance out of their APU, it remains an option.
Conclusion
The delidding process for the Ryzen 8000G turned out to be quite straightforward, requiring no special tools or elaborate methods to remove the IHS. A thin blade and careful handling to avoid damage were sufficient, along with isolating the SMD components to protect them from potential contact with the liquid metal.
Regarding the results, there was a temperature drop of up to 19°C when overclocking the CPU, with the difference increasing as heat dissipation was pushed further, which is expected when replacing the standard thermal interface with liquid metal.
In terms of overclocking, this translated into a slight performance boost for both the CPU and GPU, allowing the CPU to reach 5150 MHz across all cores and the GPU to hit 3300 MHz. However, it’s important to remember that this procedure could damage the CPU and will void the manufacturer’s warranty, so it’s always wise to carefully consider the risks before proceeding.

