Modding a Silverstone Sugo SG13: Building a Compact SFF PC with Ryzen 9 7900!
In this article, I will be undertaking a modification of a Silverstone Sugo SG13 computer case with the goal of optimizing it for modern hardware that generates higher heat dissipation. Additionally, I’ll be testing the practical outcomes of this modification.
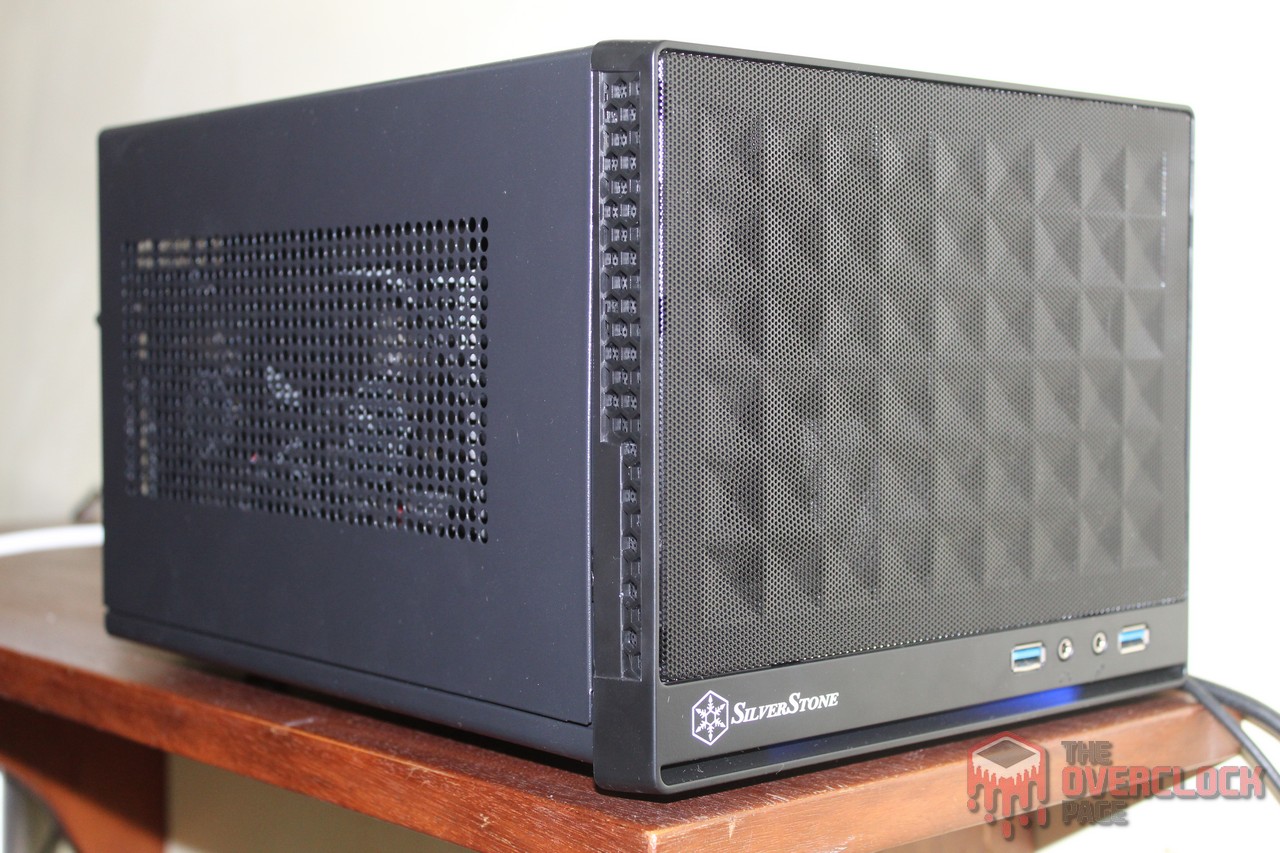
The Sugo SG13 is already well-known on our site, making its first appearance in a livestream machine for the channel and later earning a promotion to a daily use machine. For those unfamiliar, it’s a compact (SFF) cube-shaped case that supports ITX motherboards, graphics cards up to 270mm in length, and surprisingly, both ATX and SFX power supplies – all within a compact volume of just 11.5 liters.
In its initial iteration, it was equipped with a 120mm AIO (All-In-One) water cooler, which, after a few months, was replaced by a custom loop. In comparison with the last article, the hardware underwent a change: the B350 motherboard, R9 3900XT, and 1650 Super were replaced by X570, R5 5600X, and RX 6600M. Despite these hardware changes, the case remained unaltered with the custom water cooling setup.

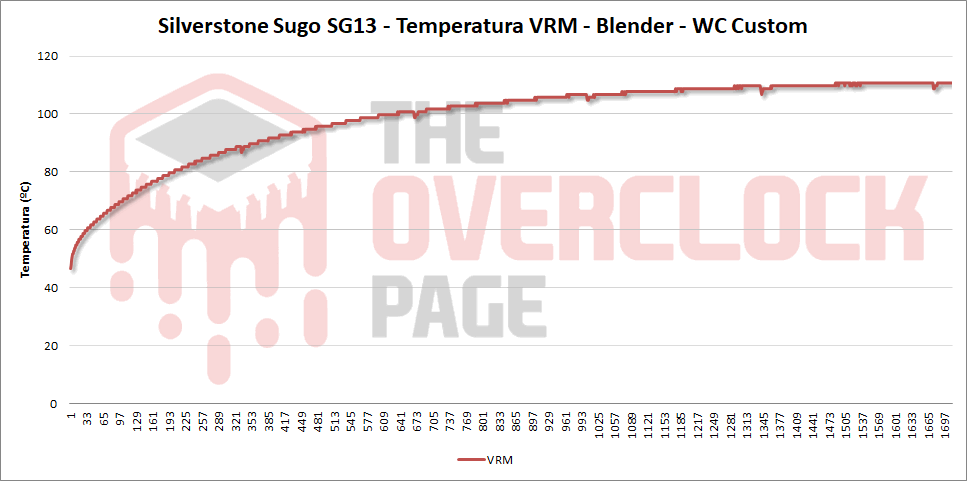
Despite the custom water cooling setup, there’s an evident limitation in the airflow circulation of this case. It only features a single inlet/outlet for fan installation, and the power supply is positioned directly above the motherboard, affecting the airflow around the VRM. This configuration leads to trapped hot air inside the case, resulting in elevated temperatures for both the CPU and VRM. As a consequence, it becomes somewhat unsuitable for more sophisticated (and heat-producing) hardware.
As the goal here is to assemble even more powerful hardware in this Sugo SG13, modifications to the case will be essential. Otherwise, issues with temperature and performance would persist as a constant challenge for this machine.
Before diving into action, it’s crucial to formulate a plan on what steps to take. While scouring the internet, I stumbled upon a casemod that appears to address the major issue of inadequate airflow. The mod’s creator even provides evidence of the successful outcomes of these modifications.
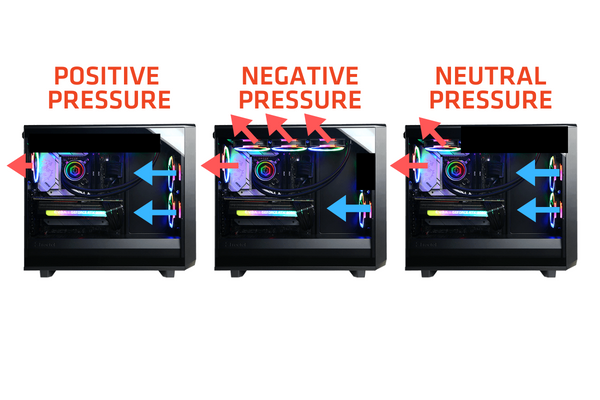
The concept here is to modify the case’s top panel to accommodate new fans and create a “environment” with positive pressure – meaning more air is drawn in than expelled. This is relatively achievable in a compact 11.5L case, especially with two 120mm fans on the side, handling the task effortlessly. The radiator fan can be repurposed as an “exhaust” inside the case.
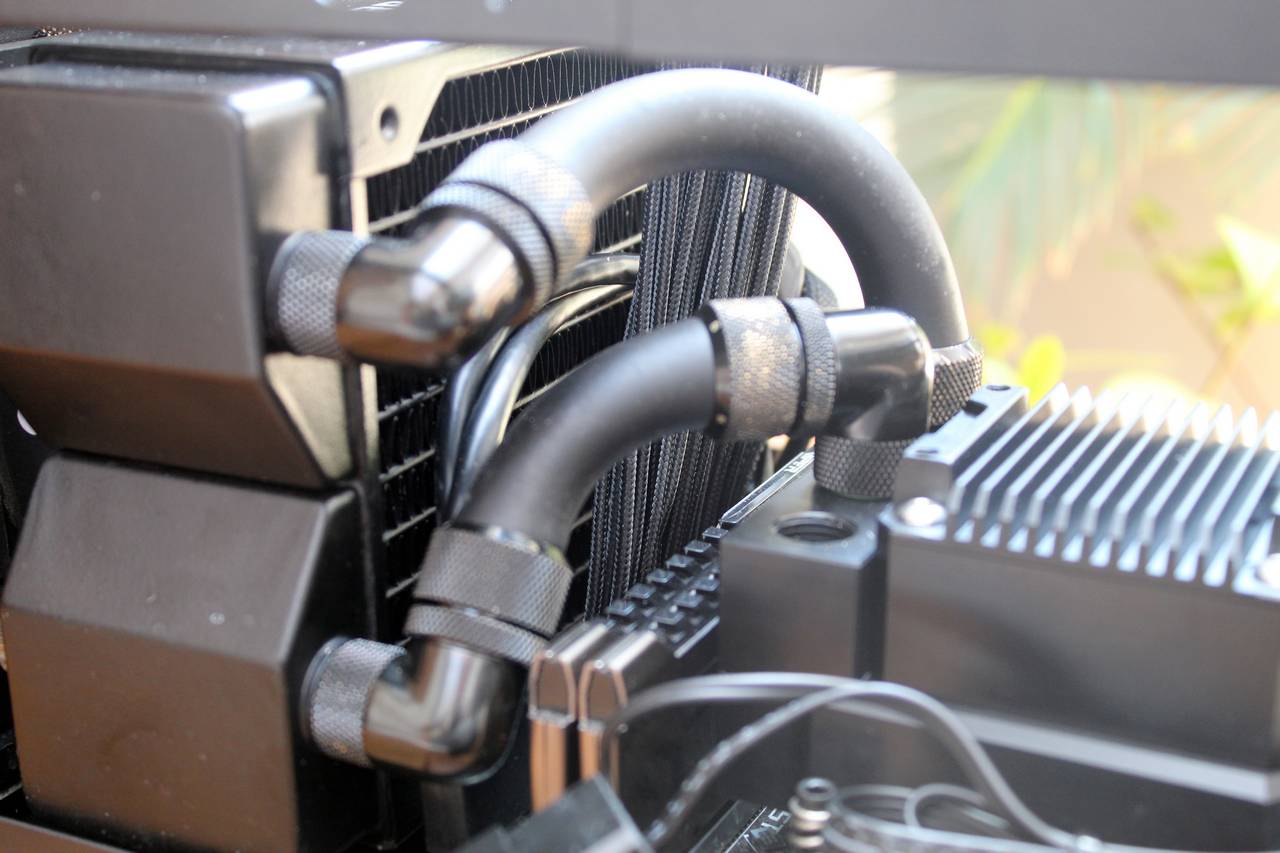
But few aspects needed reviewing, such as the water cooler tubing. The fan’s orientation change required adjustments, making the previous configuration unsuitable due to tubing length disparities. To address this, multiple 90° connectors were employed along with the reliable EK ZMT tubing, known for its excellent durability and resilience.


The next step was to ensure that everything would fit inside since it’s evident from the photos that space is quite limited. Therefore, it was crucial to test whether the fan could rotate without obstruction from cables or if it was possible to thread them through the narrow gap between the tubing and the fan. Fortunately, everything worked out, but it was a close call!


With everything in place, it was time to permanently install the water block. For the thermal interface, the chosen option was the renowned Honeywell PTM-7950 – a phase-change thermal pad with a thickness of 0.2mm and a thermal conductivity of 8.5 W/m-K.
The PTM-7950 is well-known among individuals involved in laptop and GPU maintenance due to its noteworthy characteristics. It boasts durability, retaining performance over numerous thermal cycles. Additionally, it excels with chips featuring exposed dies, effectively covering all surface imperfections and extracting exceptional thermal performance.
Since there are no immediate plans to tinker with this machine, and there was a curiosity about the performance of the PTM-7950 on a CPU without an exposed die, it became the preferred choice for the CPU. The installation process is straightforward but demands caution due to the fragile nature of the thermal pad.


The next step involved installing the GPU, connecting the power supply, and checking the machine’s functionality, which fortunately was a success! With that said, in the gallery below, you can witness the final result of assembling the hardware in the Sugo SG-13.


With the assembly completed, it was time to address the ventilation issue. The plan was to install two 120mm fans on the side panel. However, it proved impossible to do this directly on the panel, as the fans would be too large and encounter obstructions with the case structure when trying to secure them in place.
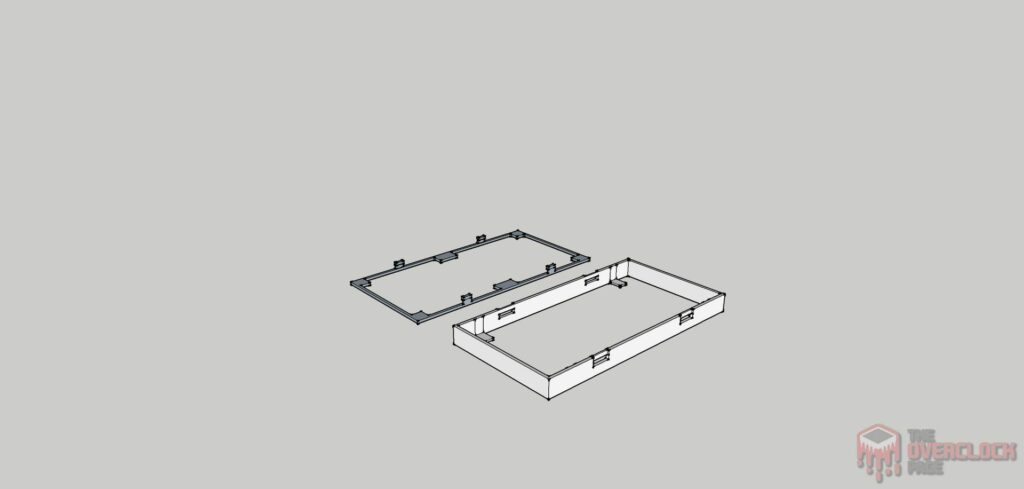
After burning some brain cells, the solution was to design a sort of adapter to make this idea a reality. The excellent SketchUp was employed to create the design, followed by 3D printing for manufacturing. Consequently, the support would be screwed onto the panel, avoiding interference with the case structure, and the fans would be attached to the adapter.
The prototype was printed in ABS due to its deformation characteristics and resistance to higher temperatures. Unfortunately, the top part turned out to be too fragile and was subsequently discarded. Fortunately, the fans remained securely fixed, even though they were merely fitted into the frame, ensuring that this initial prototype could still be utilized.
Two Scythe Kaze Flex Slim (KF1215FD18-P) 120mm x 120mm x 17mm fans were employed, and the choice of slim models was purely aesthetic, as their specifications are deemed sufficiently suitable for this task.
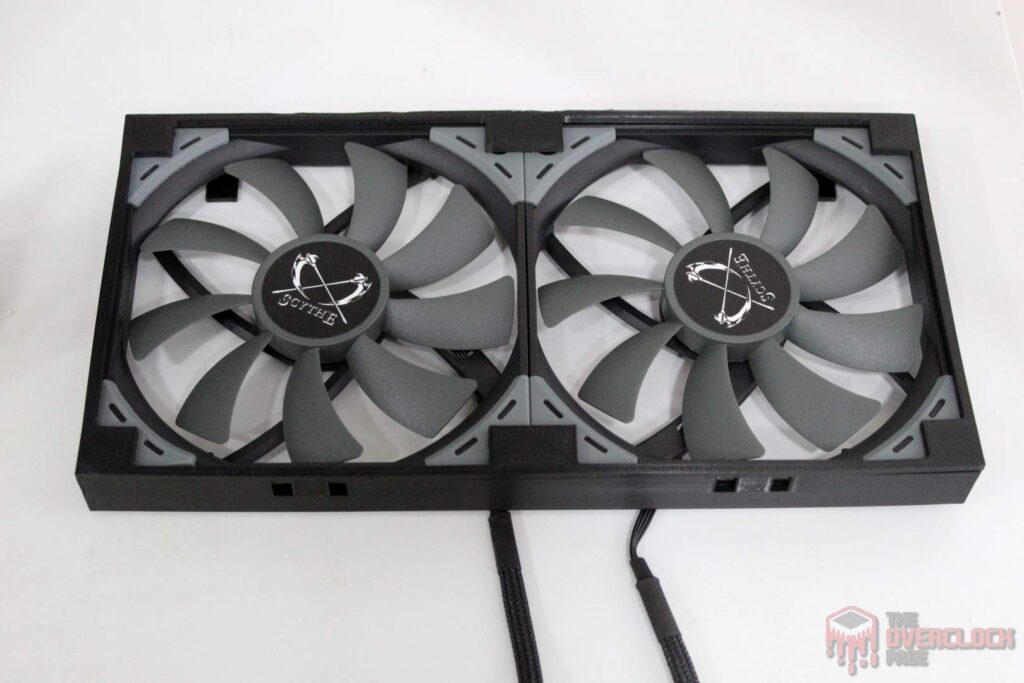
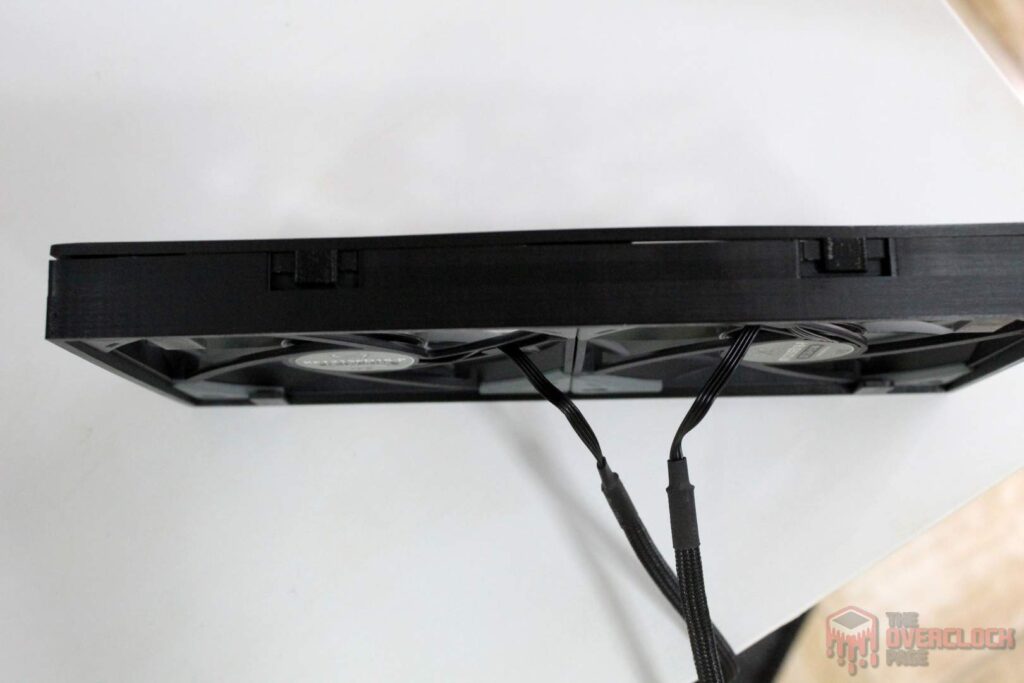
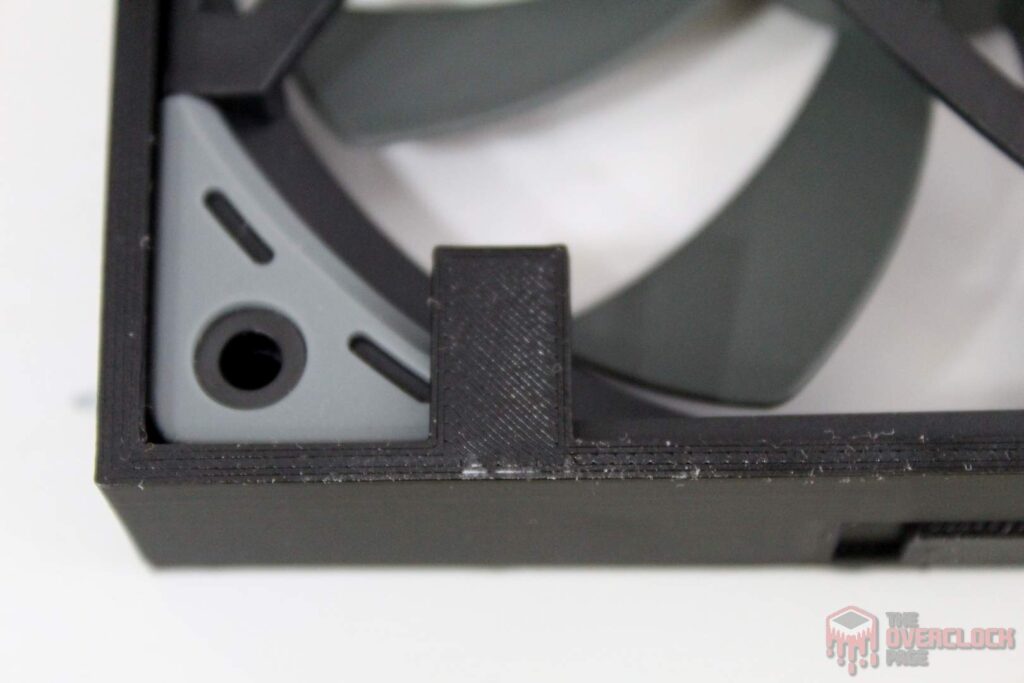
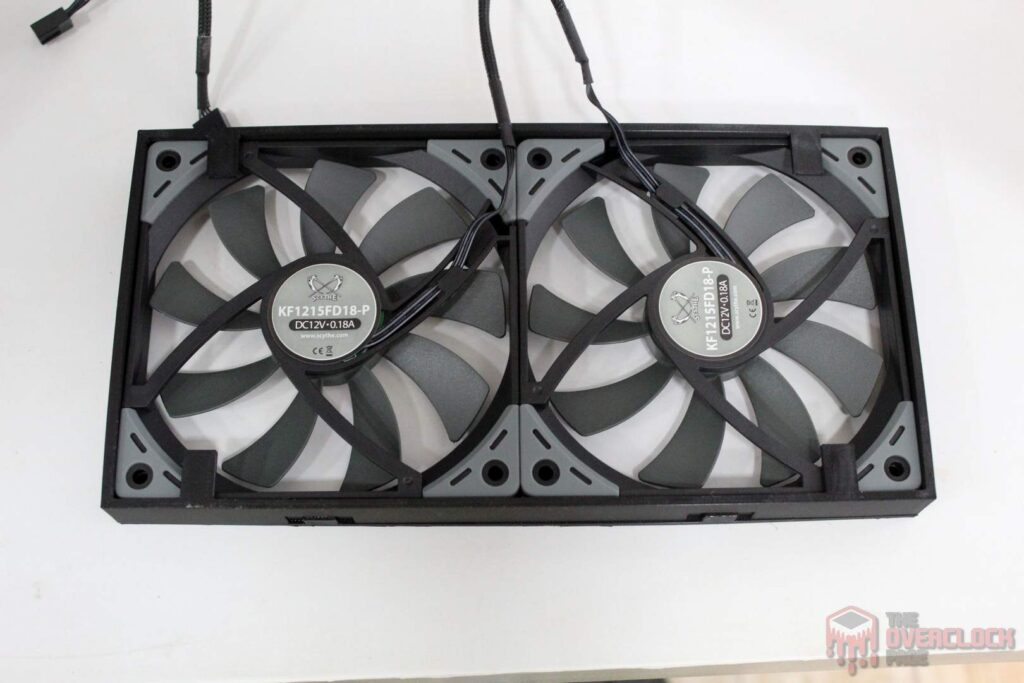
Now comes the most delicate part of this project – cutting the opening in the case’s top panel. In case anyone is still visualizing, these fans will be installed on the external part of the Sugo SG13. Imagine something akin to a racing car hood scoop – that’s roughly the idea!
The cut, measuring 200mm x 90mm, was executed using the Dremel 3000, the Dremel 225 attachment, and a suitable cutting disc. It proved to be a relatively smooth process, taking about 1 hour to complete. The finishing touches were applied using the accompanying Dremel sandpaper. Below, you can observe the finished top panel.


And there you have it – the machine fully assembled with all the planned modifications on the Sugo SG13. But was it worth it? Does it deserve the title of Super Sugo? Let’s find out now with the tests!


Hardware used:
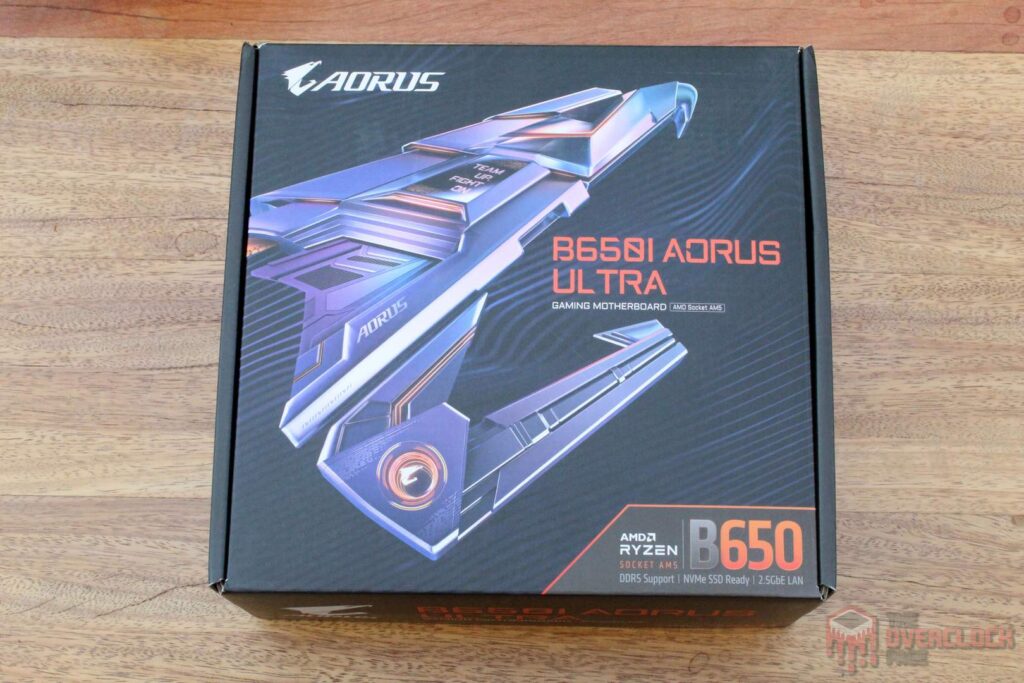
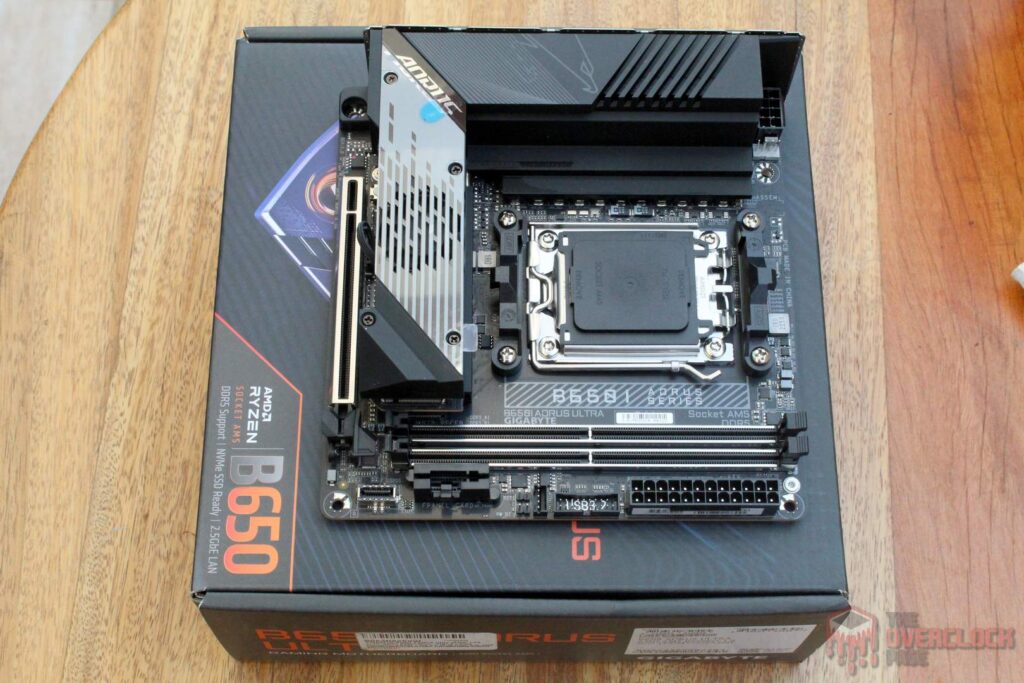
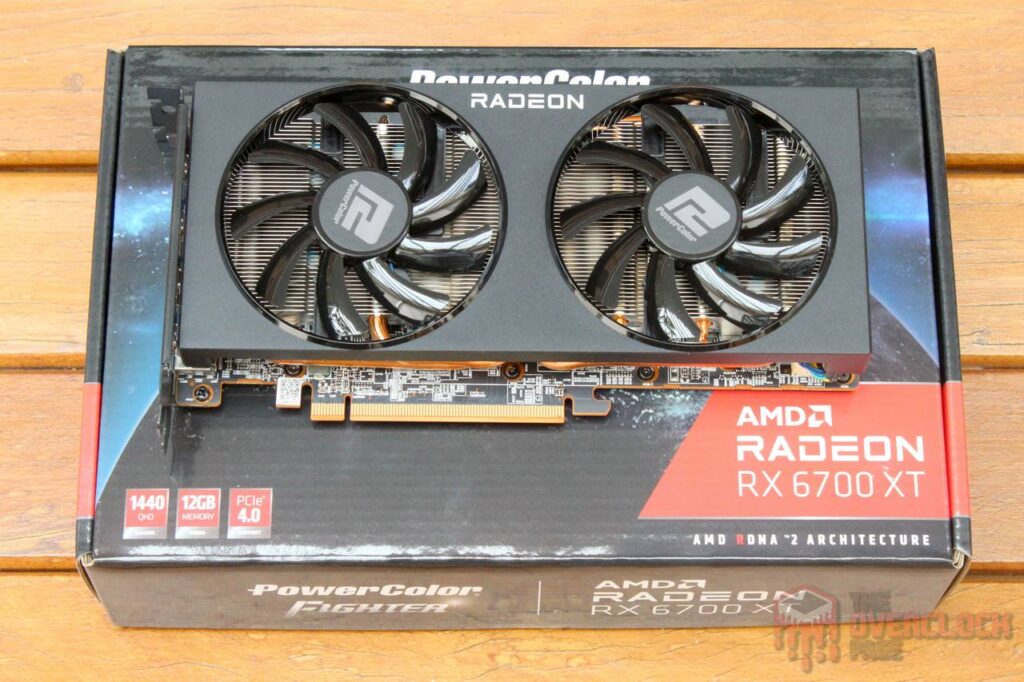

CPU: AMD Ryzen 9 7900 (Thank you AMD!)
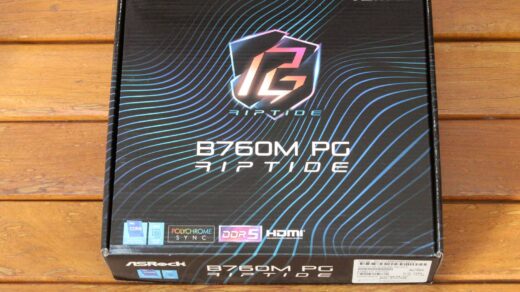
MOBO: GIGABYTE B650I Aorus Ultra
RAM: 2x16GB Kingbank Sharp Blade 6800CL34
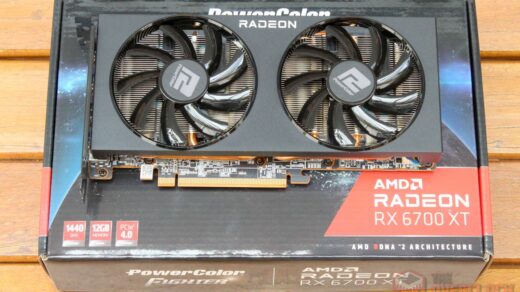
GPU: Powercolor RX 6700 XT Fighter
PSU: Corsair SF450 Platinum
COOLER: Barrow LTPRP-04 + Barrow Dabel-60A 120 + EK-Tube ZMT + fan AVC 120mm
SSD: Kingston KC3000 2 TB (Thank you Kingston!) + Netcore 2 TB (Thank you Netcore!) + Hikvision E3000R 1 TB
Testing purpose:
Determine if the modified Silverstone Sugo SG13 can handle a powerful configuration with modern hardware, we’ll be testing the temperatures and noise levels post-modifications. Further details about the tests are detailed in the following texts.
Results:
Configuration:
The first task after assembling and installing the system was adjusting the fan rotation curve, as the noise at full speed was quite high, especially from the powerful AVC unit used on the radiator. Below, you can see how the adjustment was made, noting that this motherboard uses the Tctl reading as the basis for the fan curve operation.


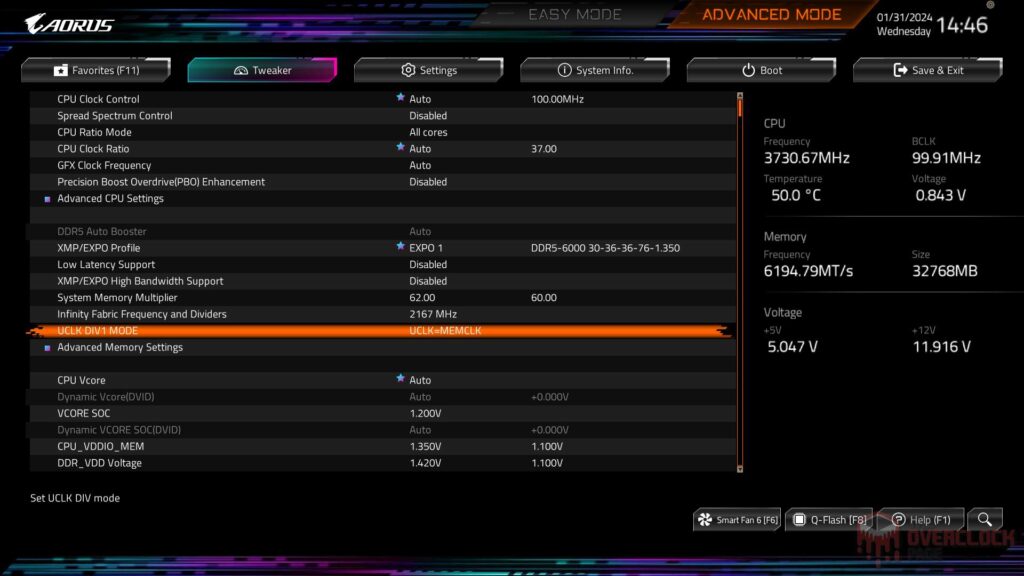
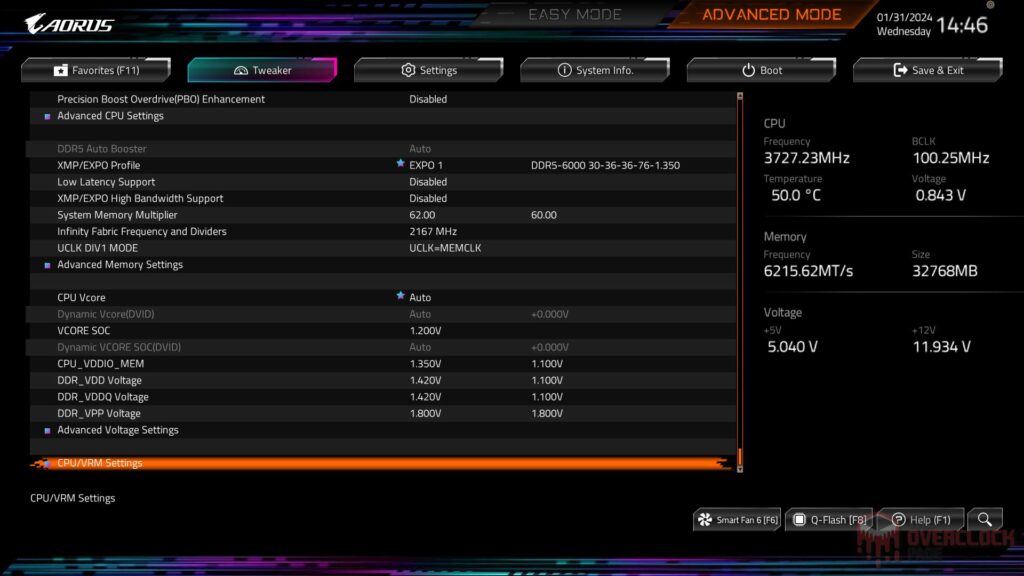
Additionally, several optimizations were applied to the PBO, using the same values as the 105W CPUs. For now, there’s no Curve Optimizer or Clock Overrider in place. The FCLK is set to 2166 MHz, RAM is running at 6200 MT/s CL30 with UCLK at 1:1, and fine adjustments were made to some voltages. For instance, the VDDSOC is stable at just 1.2V.


Noise levels:
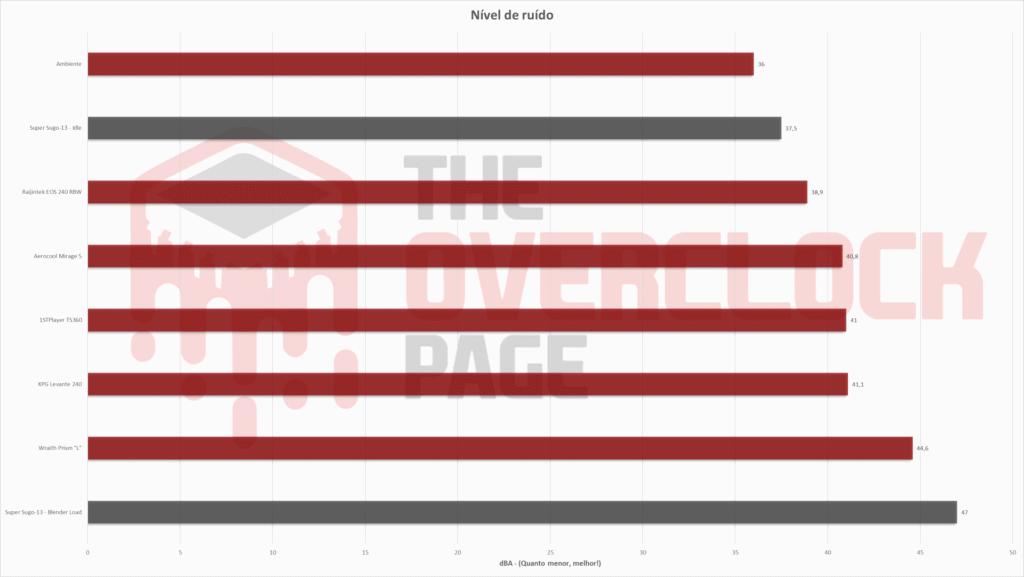
To measure noise, the UNI-T UT353 was positioned approximately 100 cm from the test bench, with all other fans, except those on the tested cooler and power supply, turned off. The goal is to capture the noise solely from the item being tested, considering that the reader’s configuration may differ significantly, such as having different fans.
The unit used is decibels, which employs a logarithmic scale. In practical terms, this means that the volume doubles in intensity every 3dB. Therefore, the doubling of 50dB is not 100dB but 53dB. However, the human ear perceives a doubled volume with a larger interval, between 8 dBA and 10 dBA. Nonetheless, as a reference, a quiet environment like a library typically has a noise level around 30 dBA.
Concerning the noise level, these initial fan rotation curves performed quite well with the machine at idle, reaching 37.5 dBA – a completely acceptable level in an environment with a background noise of 36 dBA, making it generally considered quiet.
Under load, the powerful AVC fan, as mentioned earlier with the ability to reach 3000 rpm, over 83 CFM, and 5.12 mmH2O, demonstrated its capabilities, reaching 47 dBA. Surprisingly, it even surpassed the Wraith Prism in the “L” position, which isn’t particularly good as the noise becomes quite noticeable. The question arises: Is this level of noise truly necessary?
Temperature:
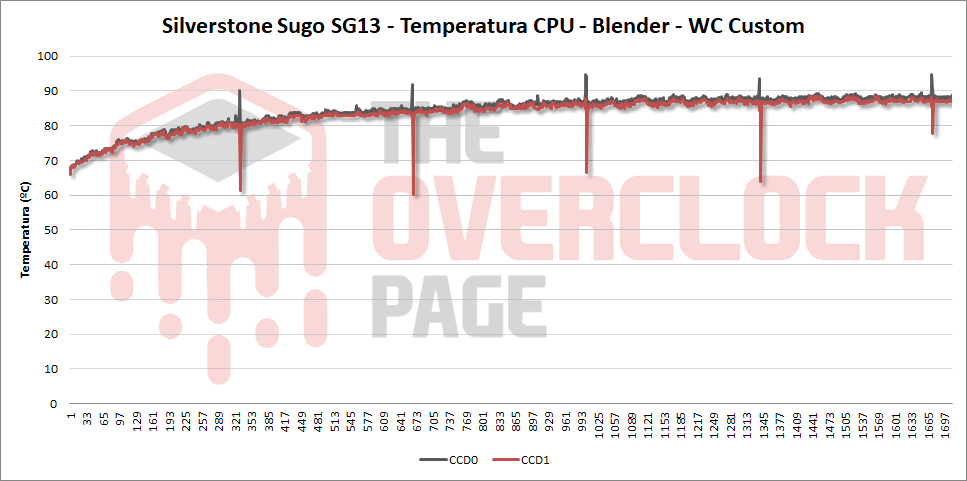
To record the CPU temperature, Blender was employed to render the “Classroom” demo for half an hour. HWiNFO was used to monitor and log the system’s vital signs during the test, and the ElmorLabs KTH-USB was utilized to record the ambient temperature, which on the day of the test was 27.7°C.
After half an hour of Blender with the R9 7900 configured for a 105W TDP, the average CPU temperature stabilized around 80°C. This is entirely acceptable for such a demanding test, where the core frequency oscillated between 4850 and 4950 MHz. This indicates there’s room to slightly reduce the fan rotation under full load, thereby decreasing the noise level.
Furthermore, no heating issues were observed within the case. This was a significant problem with the Sugo SG13 due to its poor air circulation – a problem definitively resolved by the mod!
Moreover, the temperatures of the memory, VRM, and SSDs remained excellent, as the two fans are strategically positioned to deliver cool air directly to these components.
Conclusion:
Despite being more niche compared to the 2000s, the practice of casemodding remains alive and well, with more options than ever. The accessibility of 3D printing for plastic parts allows people to be much more creative in their modifications, significantly easing the manufacturing of components that would have been much more complex to create in the past.
In the case of the Silverstone Sugo SG13, the modification to the side panel for installing two 120mm fans as an intake proved to be a tremendous success. This modification definitively resolved the issue of hot air pooling inside the case. The concept of directing the fans with positive pressure turned out to be extremely effective.
The results speak for themselves. With the R9 7900 and a 105W TDP unleashed, the average temperature during half an hour of Blender rendering was 80°C. This indicates there is room to slightly lower the maximum fan rotation, reducing the machine’s noise under load.
Given all these improvements, it’s fair to say that labeling this Silverstone Sugo SG13 as “Super Sugo” is justified. From now on, this will be its baptized name. The case no longer encounters any issues handling a modern and high-performance configuration.

